Biogeochemisty JSON Generator
The biogeochemistry JSON file (see Modules — Biogeochemistry) is used to prescribe the biogeochemical cycling frameworks we want to simulate. It characterizes the reactions we want to simulate, and how we want them to work.
This JSON file can be prepared manually, which is extremely easy to do once you understand how its JSON blocks look like.
Alternatively, you can draw the cycling frameworks in a diagram using a GraphML editor.
GraphML is an XML-based file format for graphs. There are several free GraphML editors.
After you are happy with the framework you designed, you just nee to run a python script we prepared for this (see below a link for the script in Step 4).
We recommend using the yEd graph editor. You can either use the online version (yEd live) or the installed version (yEd installers) that are available for all major platforms: Windows, Unix/Linux, macOS. Once you have yEd ready to use, you can start working on your biogeochemical conceptual model(s).
Below are the different steps you can follow to develop you biogeochemical conceptual model to simulate in OpenWQ.
Step 1: Identify the chemical pools
Decide the chemical pools you want to simulate.
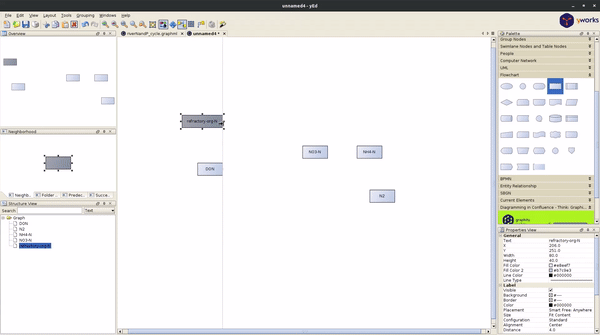
Chemical pools are charaterized as nodes in GraphML format.
You can choose the nodes appearence(s) for your preference (e.g., box, rectangle, icon, etc).
Create one node for each chemical pool, and “add label” with the name of the pool.
This name will be used across all JSON files.
Step 2: Identify reactions
Coming soon!
Step 3: Characterize the reaction kinetics
Coming soon!
Step 4: Convert diagram to OpenWQ input file
Download the python script Convert_graphml_BGCjson.py from OpenWQ’s GitHub repository.
Adjust the path to your GraphML where you have your framework, and then simply run the script.
You can adjust the diagram and re-run the python script as many times as needed.
This is aimed at promoting collaboration and iteraction betweeen collaborators.